Raphael Buholzer
Design graphique
LaSalle College Vancouver
Two point perspective drawing in Photoshop - 20 hours piece
This work I am really proud of due I could not expect the end result as we were given our assignment. The project has been given in the Photoshop class during the 2nd term of our Graphic Design program. It was a challenging project where I invested at least 20 hours of work before handing it in - I really loved the process and enjoyed discovering new options and techniques in Photoshop which I will be able to benefit from in the future.
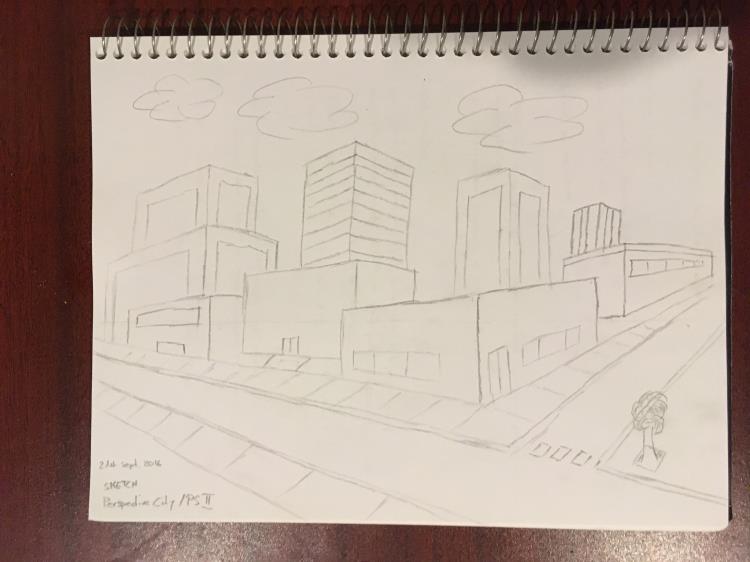
scetching
For getting an idea how to fill the 19 by 12 inch canvas in Photoshop, I tried to scetch the buildings first in my scetchbook. With this scetching I also want to get used to the habit scetching ideas down on paper before jumping into any Adobe programs.

perspective guidlines
After importing the photo of my scetch, I was able to determine the two vanishing points which were placed outside the canvas. Afterwards I could easily bring in some perspective guidlines using the path (pen) tool.
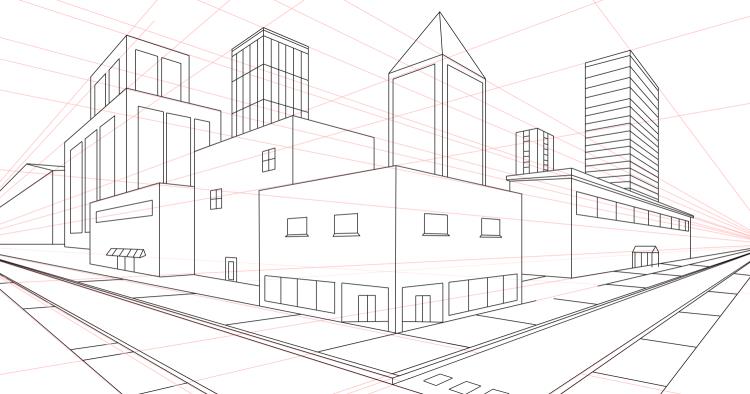
line drawing
Using still my scetch as the background I started to draw the buildings using only the line tool in Photoshop. I was already thinking about creating seperate layers and folders in order to organize all the upcoming content.
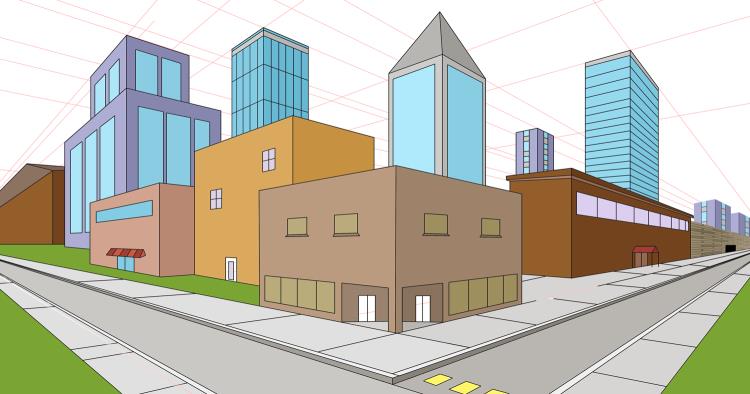
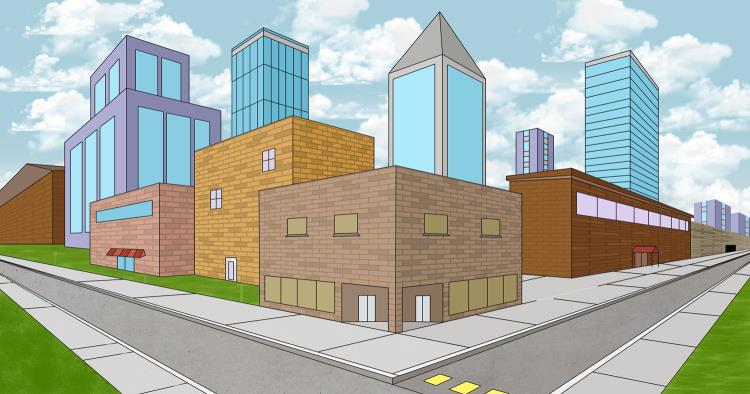
basic coloring
By being careful with the line work in the previous step, easily I was able now, to select the walls of the buildings and start colouring them. In this process I started to think about where at the end, the main light source may come from. By putting the colors on new separate layers, I knew I will always be able to come back and change the colours if needed.
start adding details
In the next step I had to create the background due the white space was distracting me a bit in order to bring in more details. The bricks were challenging due I really wanted to draw them myself without bringing in external sources or textures. I draw them on a different canvas using vertical and horizontal lines - after brining them into the document and using the transform tool, I was able to add them on each desired building. After I used patterns and inline drop shadows to give the bricks more depth. Also for adding the texture on the gras itself, I was using only costum bruches provided by Photoshop itself.

taking it further
I really started to like the process and the work I was doing so far - so I decided to take it a step further and bringing more life into the scene using more details. The streetlamps were drawn using circles and rectangles, honestly I was suprised how easy I could draw them at the end. I also added some textures on the street and the sidewalk using the "fill - tool" by Photoshop - there I was choosing a pattern and changed the blending modes of the layer itself.
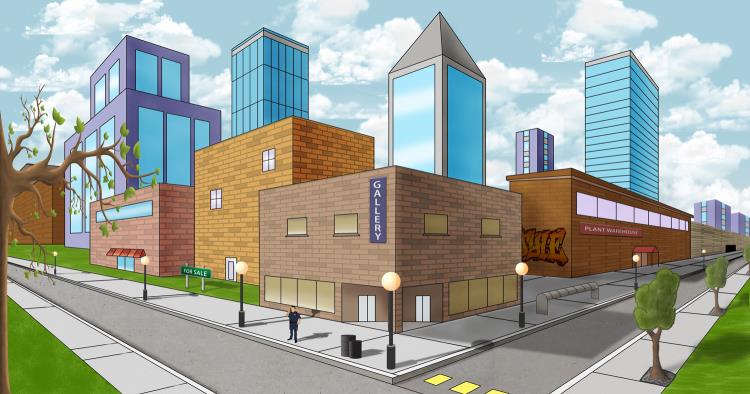
bringing in a bit of life
Even working on the project for 15 hours, I was still not quite satisfaid - the only thing I wanted, bringing in more real life - so I tried to start drawing at least one person and some objects. I also was adding on seperate layers the building shadows and started to work using dodge and burn tool to give the scene more depth. The reflection on the windows was a tricky part which for future projects I may come up with a different solution.
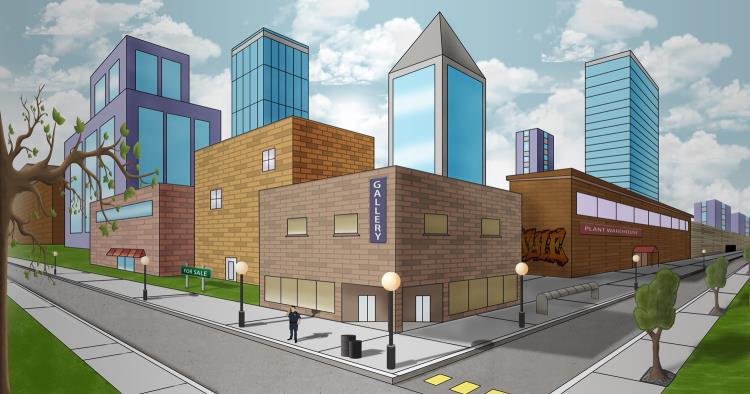
finishing it up
Final step was to reduce the saturation just a bit due I did not like the shining colors and I added a slight vignette around the image to finish it up - finally after 20 hours of work I was ready to hand in the project being marked by our painting teacher Angel Torello.
Autres crédits
I would like to thank you my Photoshop teacher Angel Torrella who gave me great feedback which will improve my skills even more on upcoming assignements - thank you.